When there are multiple sessions at a wedding, you can assign guests to different sessions as steps below:
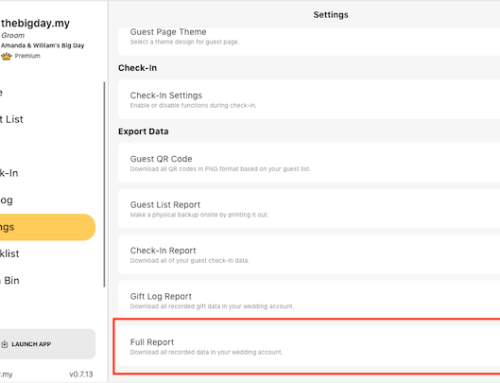
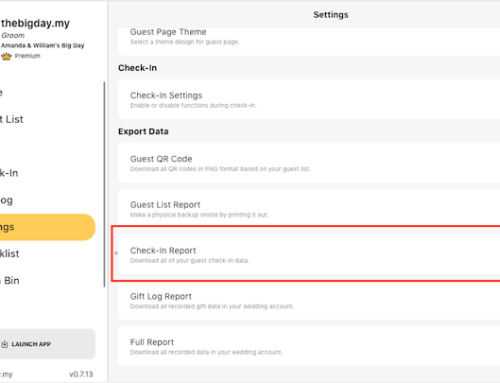
- Go to Settings from the side menu.
- Scroll down to Guest List and click on the Session.
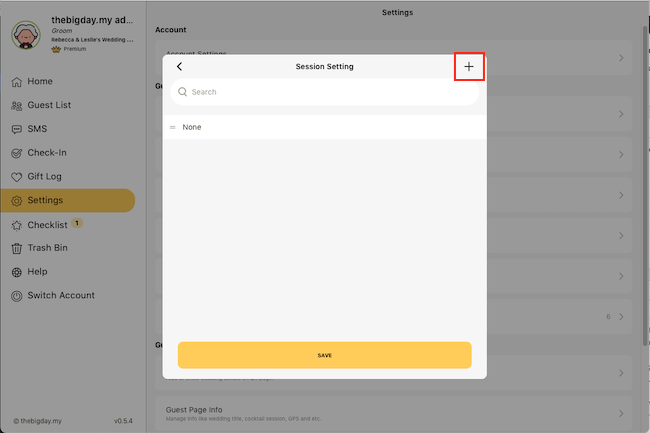
- Click Add new button to add new session.
- Add sessions to suit your wedding events. For example, add 3 sessions respectively if your wedding have multiple sessions named “ROM Ceremony”, “Tea Ceremony” and “Reception”. You can also add a session which combine multiple sessions, for example you can create a session name “Tea Ceremony & Reception” if you want to invite guests to both of the tea ceremony and reception.
- Click Save button to save the changes.
- Next, scroll down to Guest Page and click on the Guest Page Settings.
- Enable Sessions toggle to make the session informations show on guest page according to each guest assigned session.
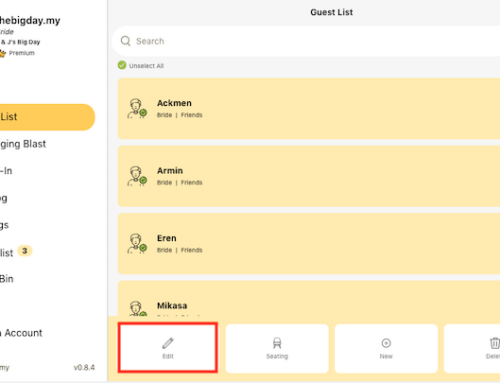
- Go to Guest List, select a guest you want to assign session and click on the top right edit button.
- Scroll down and click on Session.
- Select the session you want to assign to the selected guest and click Save button to finish.
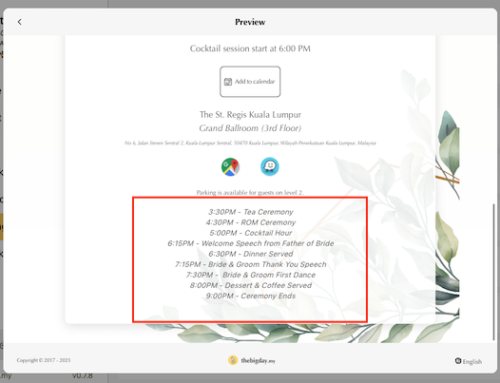
The guest page will only show assigned session of each guest respectively. For example: Guest “Kelly” was assigned to ROM ceremony and reception session, the guest page for guest “Kelly” will only show “Session: ROM Ceremony & Reception (4:30PM – 9:00PM)”.